Now that you have what you need for Git and GitHub installed locally, let’s create the repository that will hold your new website.

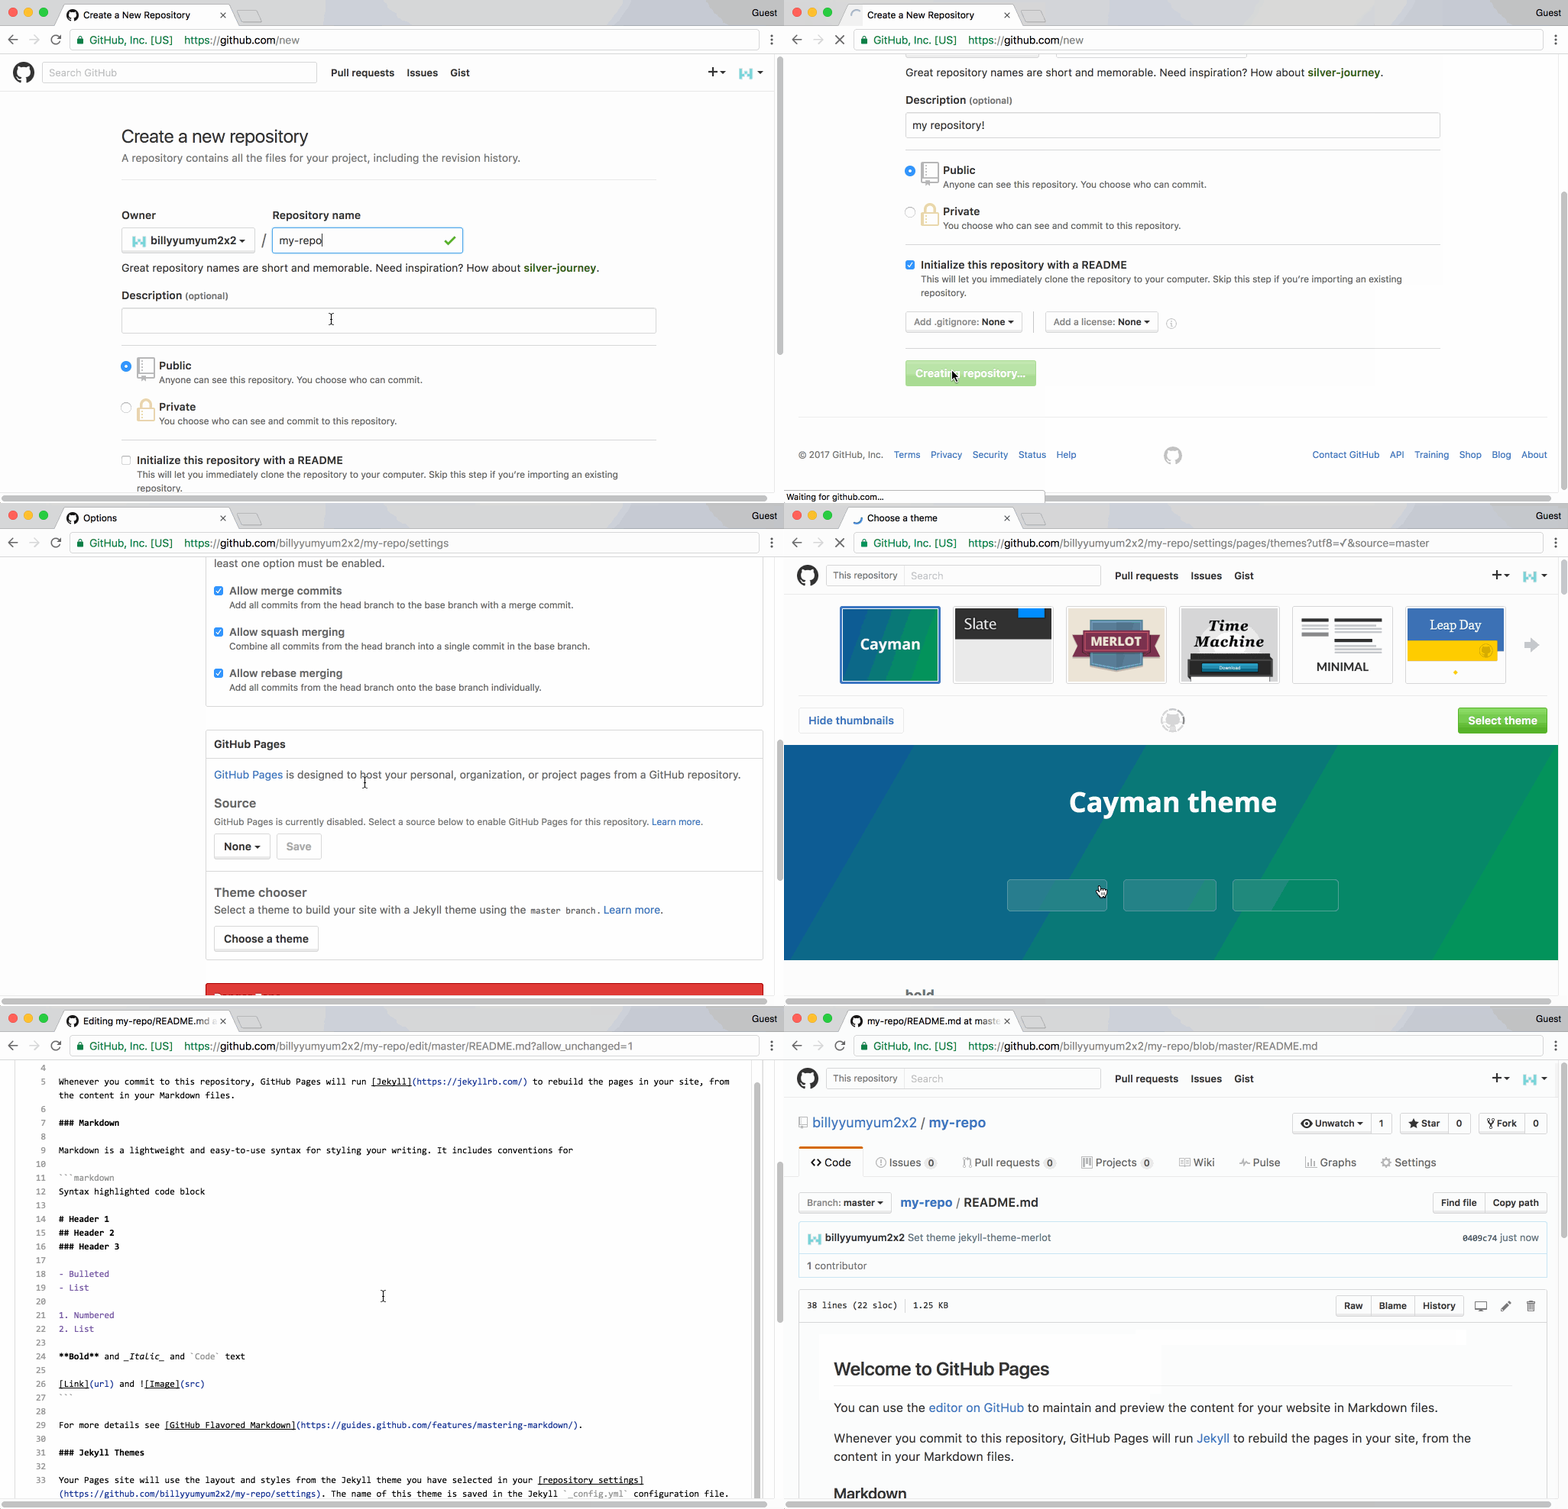
- On GitHub.com, create a new repository.
-
Name your repository
YOUR-USERNAME.GITHUB.IOThe name of your repository will be part of the link to your website. If you use the naming convention we described, your web site will be served at that URL.
- Enter a description for your repository.
-
Choose Public visibility.
We recommend you create a public repository. Public repositories are free. Even if you select a private repository, your published website will be public.
- Select Initialize this repository with a README.
- Click Create repository.
Tell me why
About Repositories
A repository is synonymous with a project. This project will house your web page.
When you create your own repository, you will be the owner. This means you’ll have administrative and write access.
GitHub Pages is a free service that lets you host a website directly from your GitHub repository.
Enabling GitHub Pages
Remember that funny repository name, YOUR-USERNAME.GITHUB.IO, you typed when you created your repository? That funny name is special to GitHub Pages. It tells GitHub Pages that you want to publish the content on the master branch of this repository as a web page.
Technically speaking, any GitHub repository can be viewed as a website using GitHub Pages. All you need to do is access the repository settings and enable GitHub Pages.
Learn More About GitHub Pages
This fun 4 minute video describes GitHub Pages in more detail: