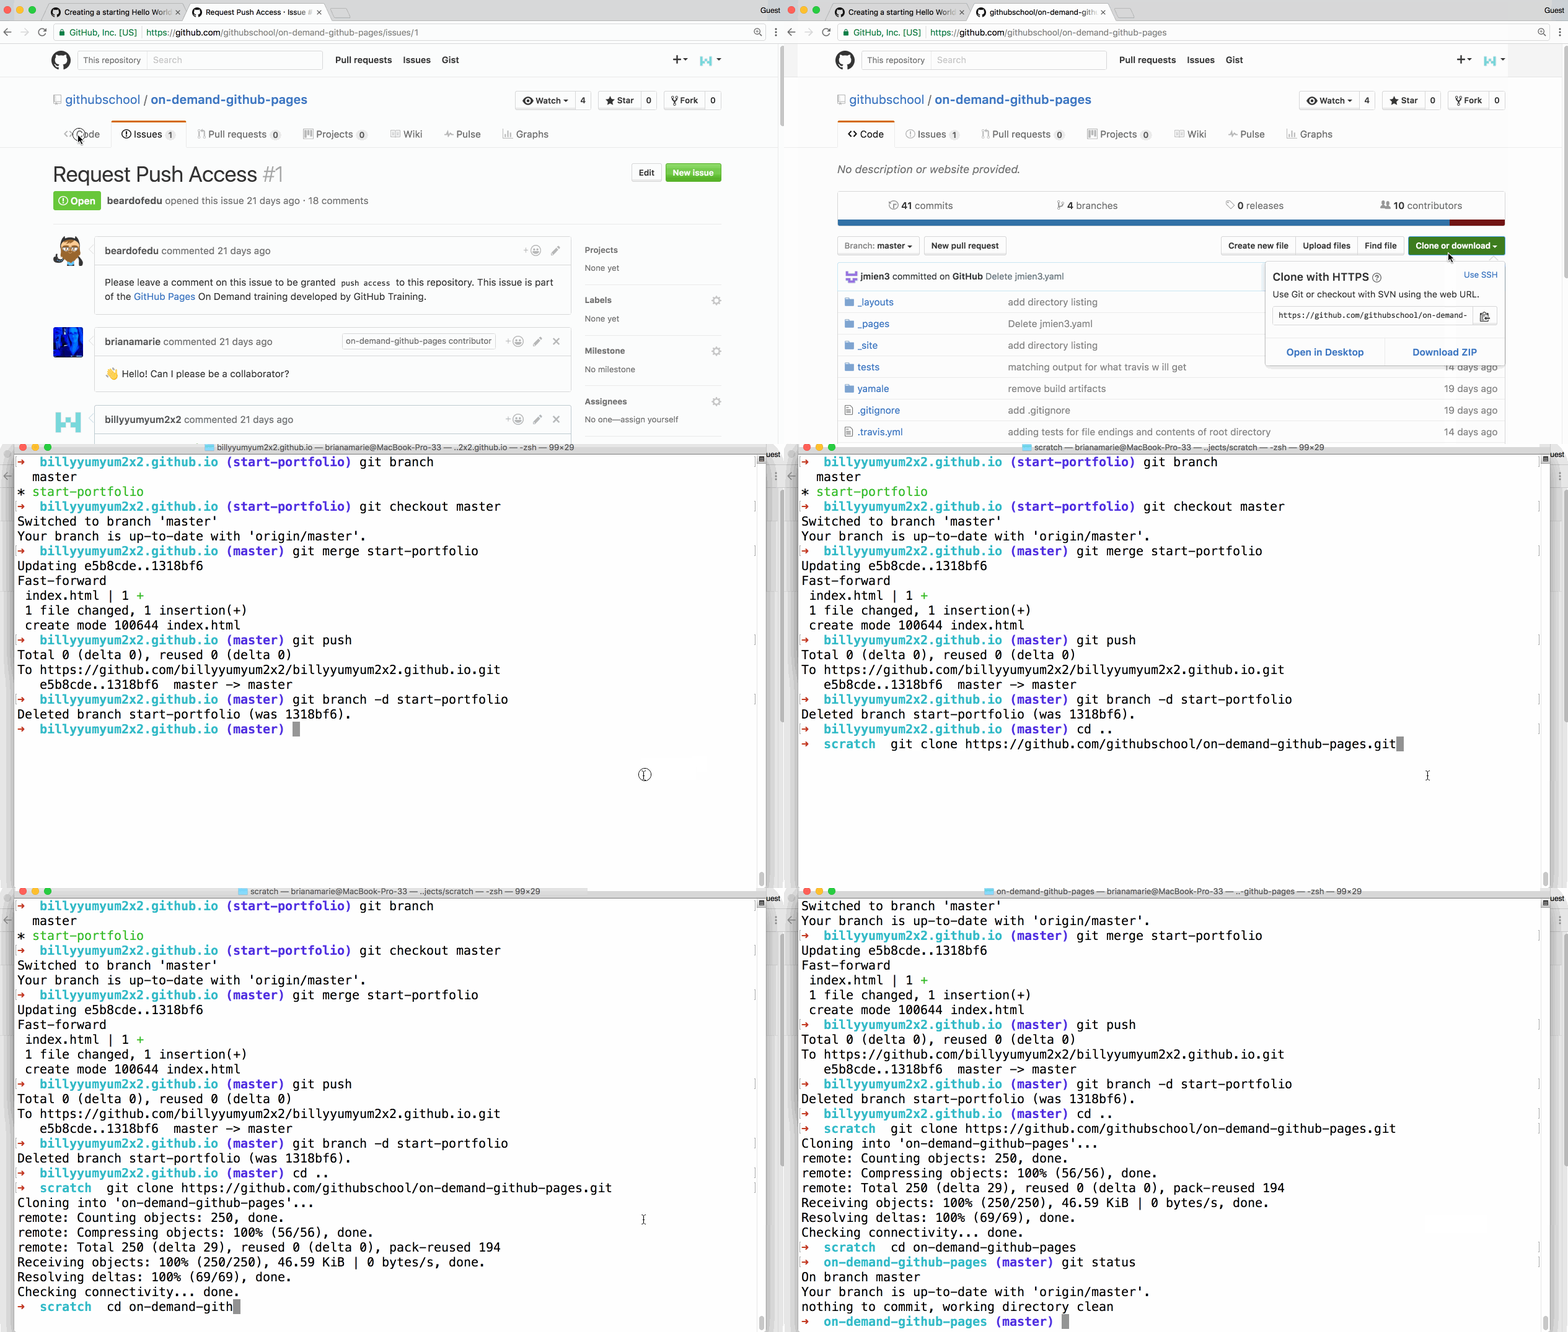
Now that you are a collaborator, use the local workflow we just learned to make changes to this repository. This exercise is a bit of a review, but if you need assistance with any of the required steps, more detailed directions are available in I need a refresher below! Good luck!

- Clone the repository to your local machine.
- Create a new branch in the cloned repository. Something like
yourUsername-add-pageis a perfect branch name. - Checkout to your new branch.
- Create a file in the
_pagesdirectory titled:<username>.yaml. Replace<username>with your GitHub username. -
Enter the following content into your file:
--- githubHandle: <YOUR-USERNAME> pageUrl: <YOUR-USERNAME>.github.io timestamp: <TODAYS-DATE-YYYY-MM-DD> ---- Replace
<YOUR-USERNAME>with your GitHub username. - Replace
<YOUR-USERNAME>.github.iowith your web site’s URL (leave out thehttps). - Replace
<TODAYS-DATE-YYYY-MM-DD>with today’s date using a 4 digit year, 2 digit month, and 2 digit day format.
- Replace
- Commit your changes.
-
Ensure your work was committed.
git status
I need a refresher
Clone the Repository
- Navigate to your repository’s Code tab.
- Click Clone or download.
- Copy the URL provided.
-
Open your command line or Terminal application and enter the directory where you would like to copy the repository. This can be anywhere in your local file system, like your home directory. For example:
cd ~/Pro Tip: Type
cd ..to go up one level from your website repository. -
Clone the repository by replacing
<URL>with clone URL you copied in the previous step. The repository will be cloned into a new directory in this location.git clone <URL> -
Navigate into the directory of the repository you just created. Replace
with your own repository's name. cd <REPOSITORY-NAME>
Create a Branch
-
Create a branch. Replace
<BRANCH-NAME>with your branch’s name.git checkout -b <BRANCH-NAME>
Add the File
- In your favorite text editor, add a file to the
_pagesdirectory. Include your GitHub handle in the filename:username.yaml. -
Enter the following content into your file:
--- githubHandle: <YOUR-USERNAME> pageUrl: <YOUR-USERNAME>.github.io timestamp: <TODAYS-DATE-YYYY-MM-DD> --- - Ensure you’ve replaced
<YOUR-USERNAME>with your GitHub Username,<YOUR-USERNAME>.github.iowith the URL to your site, andTODAYS-DATE-YYYY-MM-DDwith today’s date, using a 4-digit year, 2-digit month, and 2-digit day. For example, if today is October 17, 2016, you would enter:2016-10-17.
Commit the Changes
-
Go back to the command line and type:
git status -
Add your file to the staging area:
git add FILENAME -
Type:
git status -
Commit your changes:
git commit -m "describe your changes" -
Ensure your work was committed:
git status
Tell me why
Reviewing the GitHub Flow
Now you will see all of the great pages that have been made by others, and share your page with the world in our class repository! To do that, we’ll follow the same 5 steps of the GitHub workflow, but on the class repository.
Remember, the 5 steps are:
-
Create a branch
 (This section deals with this step.)
-
Make commits
 (And this one.)
- Open a Pull Request
- Collaborate, and make more commits
- Merge the Pull Request
You’ve followed this workflow twice so far; once in the Introduction to GitHub course, and once in this course.