Now that you have a local copy of the repository, let’s use the steps of the GitHub Flow to make a change in your project. First we will create a branch.
-
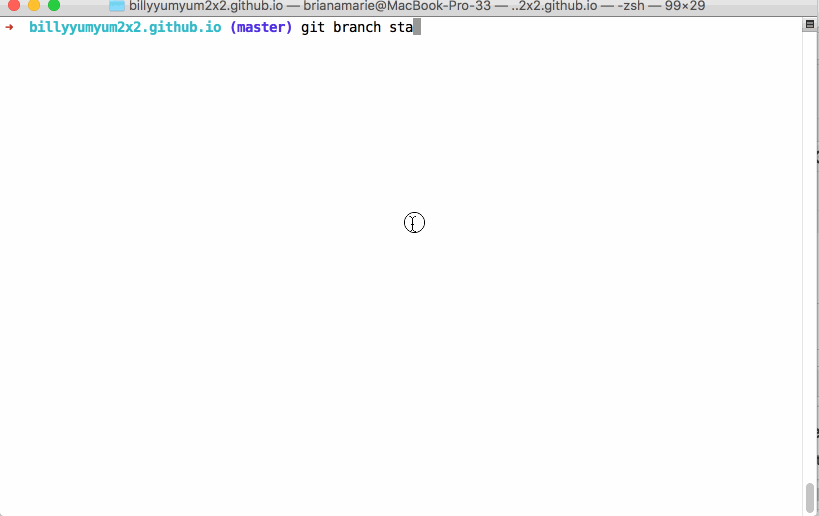
Create a new branch. Replace
<BRANCH-NAME>with descriptive name:git branch <BRANCH-NAME> -
Check your repository’s status:
git statusNotice that although you created a new branch, you are still checked out to
master, as indicated by the in-line response from Git. -
Check out to your new branch:
git checkout <BRANCH-NAME> -
Verify that you are now checked out to your new branch:
git status
Tell me why
Reviewing the GitHub Flow
Remember, we used the GitHub Flow in Introduction to GitHub, and we use it again here! ![]()
The main steps of the GitHub workflow are:
-
Create a branch
 (This section deals with this step.)
- Add commits
- Open a Pull Request
- Collaborate, and make more commits
- Merge the Pull Request
You learned how to create a branch in the Introduction course, too. But this time, we will do it in the local repository.
When you create a local branch, it will persist regardless of how you decide to work with your files.
Feel free to use your favorite text editor or IDE to work with your files. Rest assured that you will only be making changes on the branch you have selected.