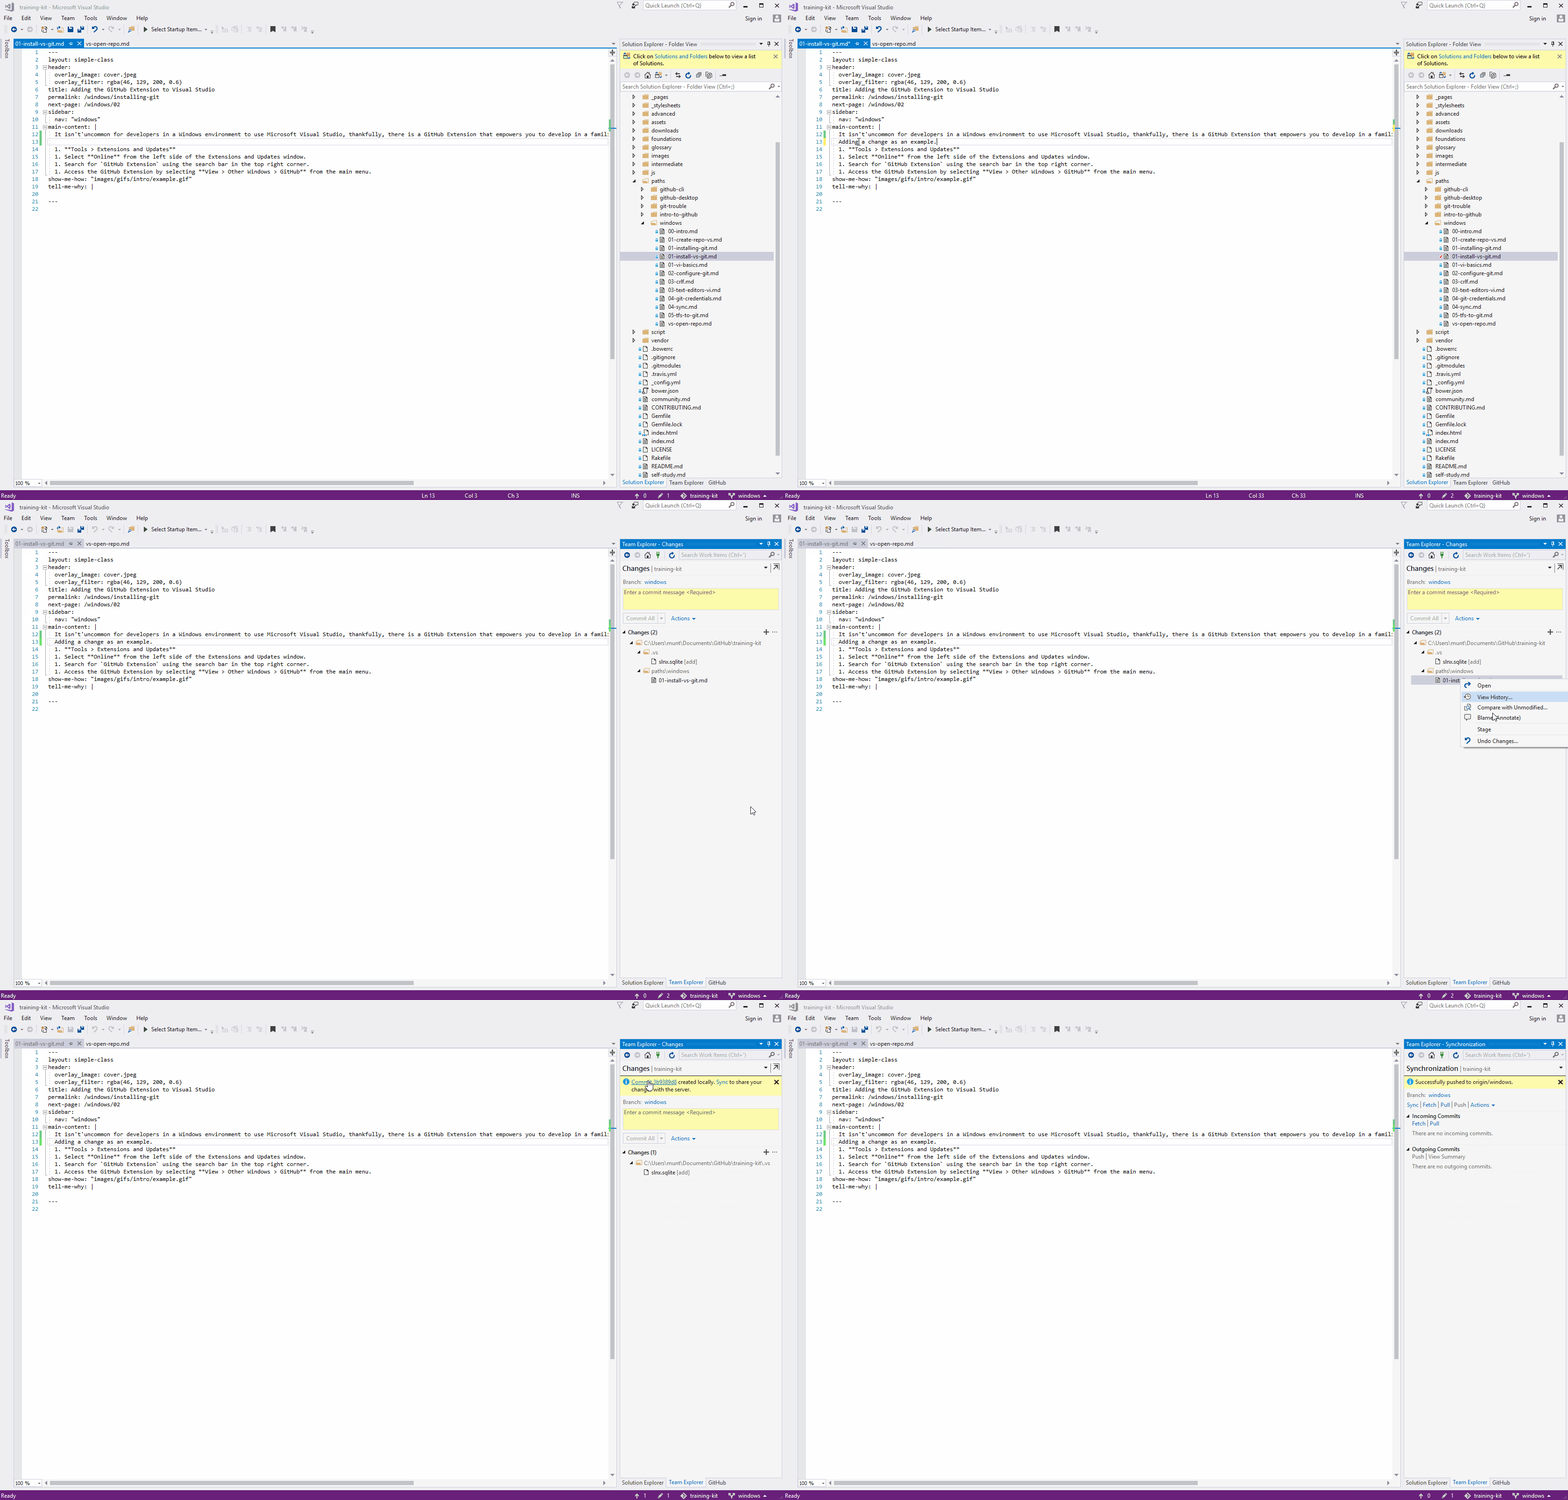
After creating a commit (or many commits), it is time to send (or push) your changes to your GitHub repository.

Pushing Your Changes
- From the Home page on the Team Explorer pane, select Sync.
- Ensure you are on the correct branch.
- In the Outgoing Commits (x) section, click the Push option. The Visual Studio GitHub Extension will push the changes on the branch you’ve selected to the repository on GitHub. If you don’t already have a repository on GitHub, it will be created for you.
Retrieving Changes
- From the Home page on the Team Explorer pane, select Sync.
- Ensure you are on the correct branch.
- In the Incoming Commits section, click the Fetch option.
Fetching retrieves any commits on your current branch that were made on the remote repository without merging those changes in. -
Click Pull or Sync to merge the changes from your remote repository into your local files. If you select Sync, any local commits will be
pushed to your remote.The (x) in the Incoming Commits and Outgoing Commits section identifies the number of commits that you will be
fetching (or retrieving) from the repository on GitHub, or how many commits you will bepushing (or sending) to the repository.
Tell me why
Sharing your changes on GitHub accomplishes a few things:
- Contributors on your project have the latest version of your working files on a specific branch.
- It acts as a backup to the project files on your local machine.