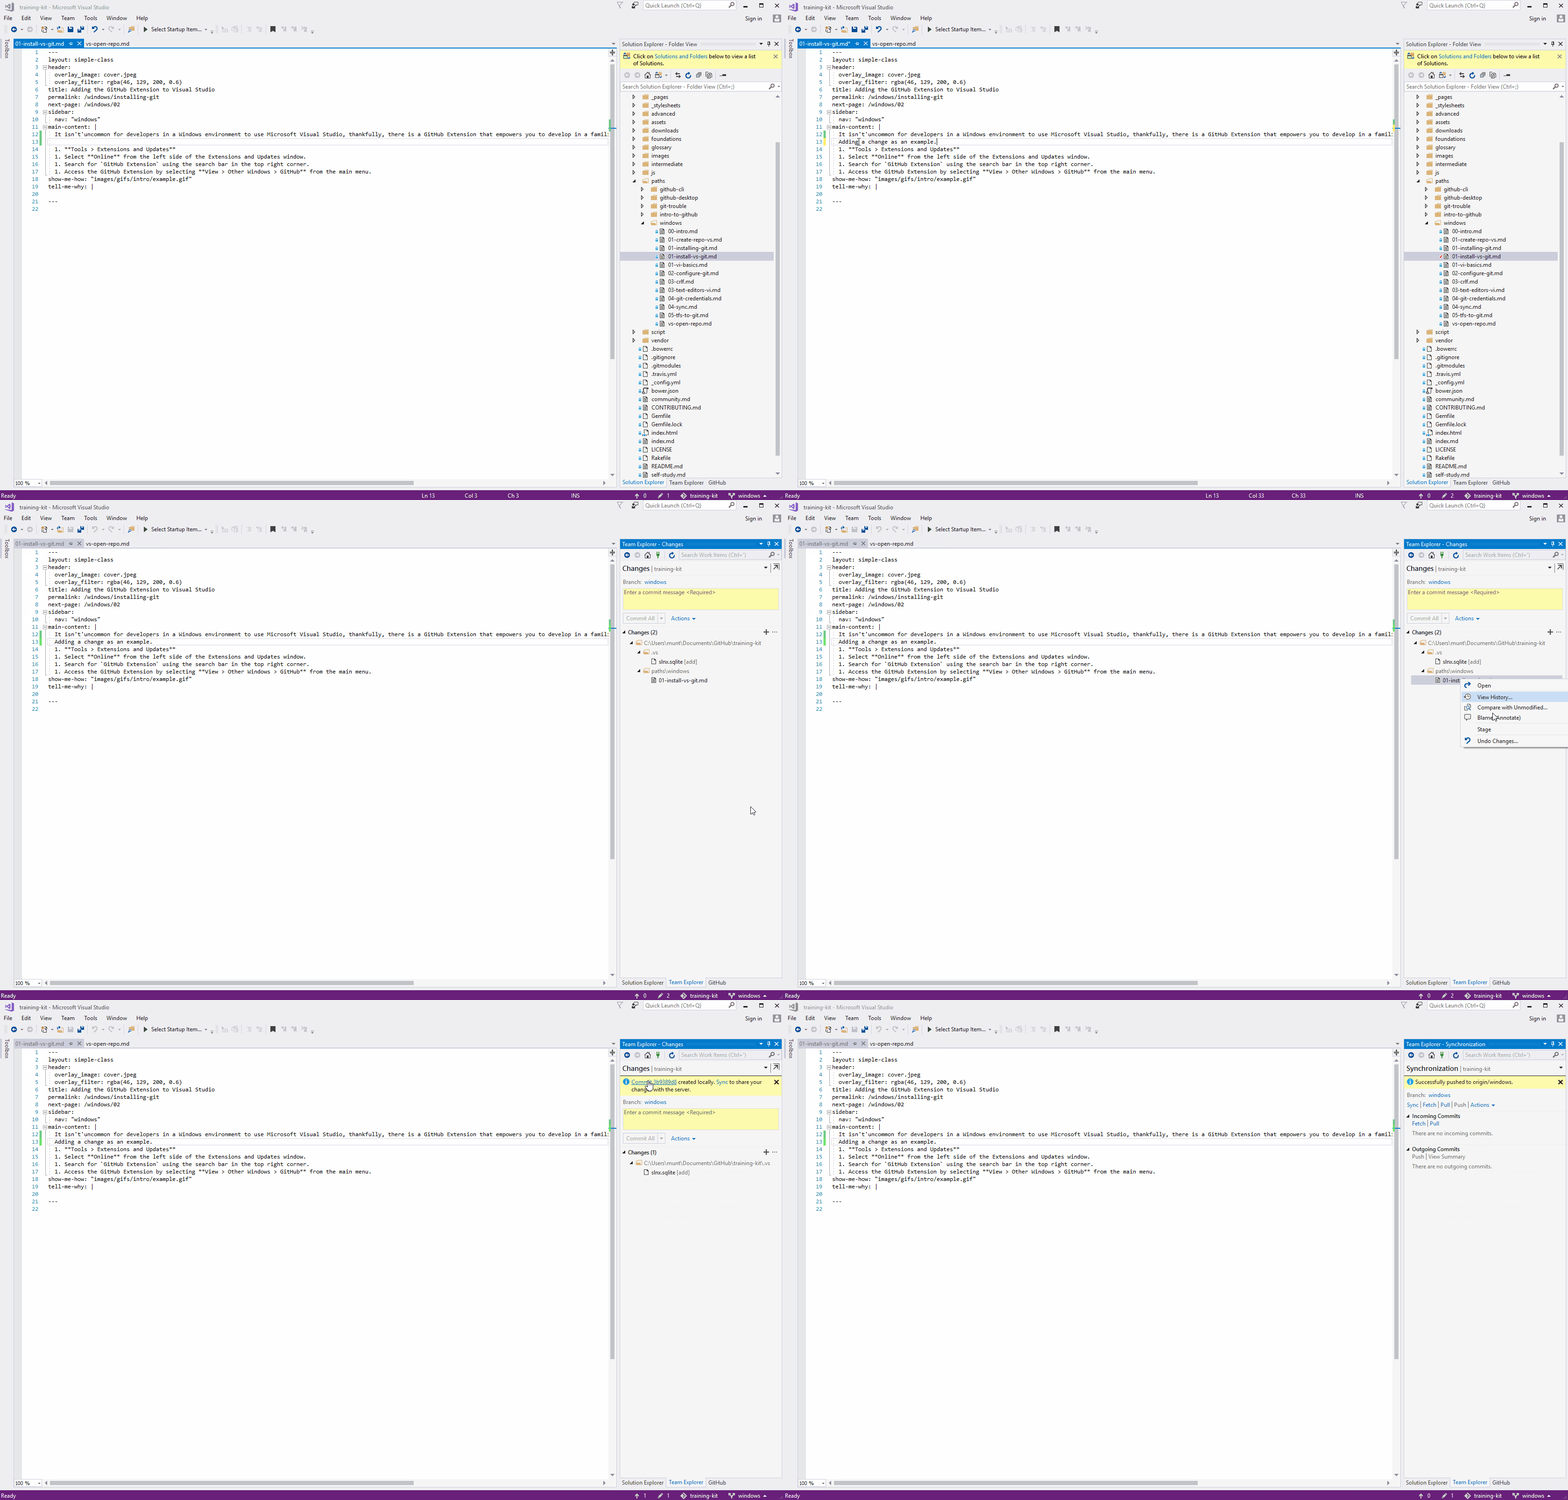
Crafting a commit using the GitHub Extension in Visual Studio is a relatively straightforward process.

Creating a Commit
- Make changes to your project.
- In the Team Explorer pane, right-click a modified file and select Commit.
Selecting All the files
- Enter a commit message identifying the changes you made.
- Click the Commit all button.
Selecting Specific Files
- Enter a commit message identifying the changes you made.
- Right click the file(s) you want to add to the commit and select Stage.
- Click the Commmit staged button.
Now what?
After you have created a commit (or many commits) it is time to push your changes to your remote repository and potentially share it with other collaborators on your project.
Tell me why
Commits are your opportunity to create a snapshot of your project at a given period in time. After creating a commit (or commits) you should push your changes to your remote repository so that other collaborators have access to the latest changes you have made to the project. Additionally, even if you are working on a project without other collaborators, pushing your changes to your remote repository acts as a backup and prevents you from losing changes should your local machine encounter issues.