It is time to create the branch you will use to add your pin to the map. Here’s how you do it:
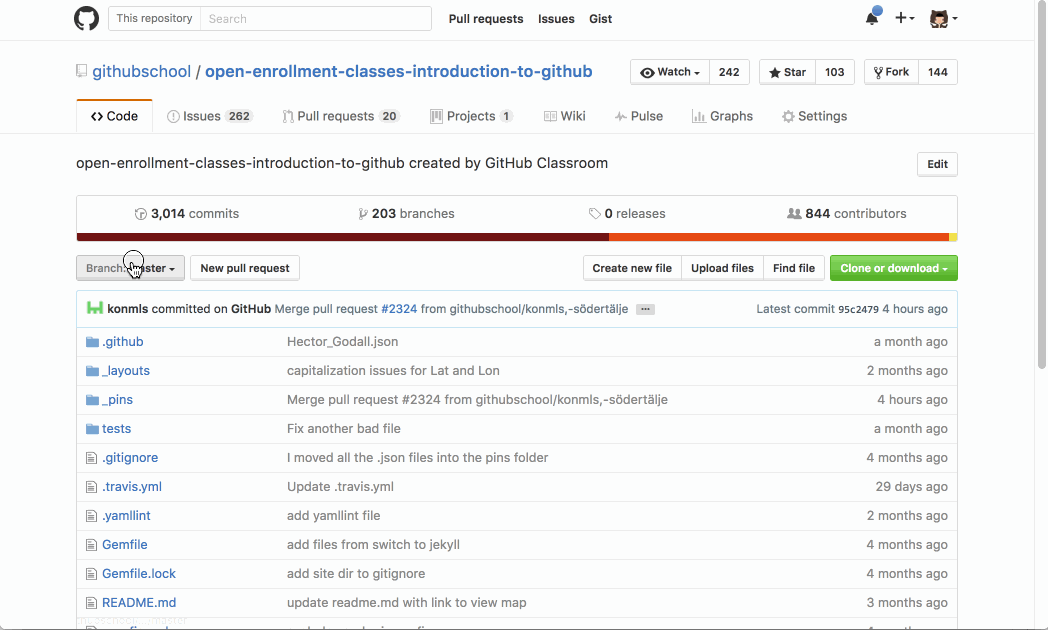
- Navigate to the Code tab in the class repository.
- Click the drop-down titled Branch: master.
- In the field, enter this unique name for your branch:
your-username-your-city. - Click Create branch: your-username-your-city or press the Enter key to create your branch.
When you begin typing in the branch field, a blue button should display, if it doesn’t, you aren’t a collaborator on the project and need to create an issue here.
Tell me why
Creating A Branch
You just learned that the first step in the GitHub Workflow is to create a branch.
Branches are an important part of the GitHub workflow because they allow us to separate our work from the master branch. In other words, everyone’s pins that are already shown on the map will be safe while you learn how to add yours.
Since branches are so important, we recommend you take a look at this video to learn more:
Tips for Using Branches
A single project like ours can have hundreds of branches - all trying out new features or alternate approaches to the same feature.
The trick in managing branches with a team is to keep them concise and short lived. In other words, a single branch should represent a single new feature or bug fix. And, while GitHub doesn’t limit the number of branches you can have, it makes things a lot less confusing when you only keep them active for a few days and delete them after they have been merged (we will discuss merging a little later).